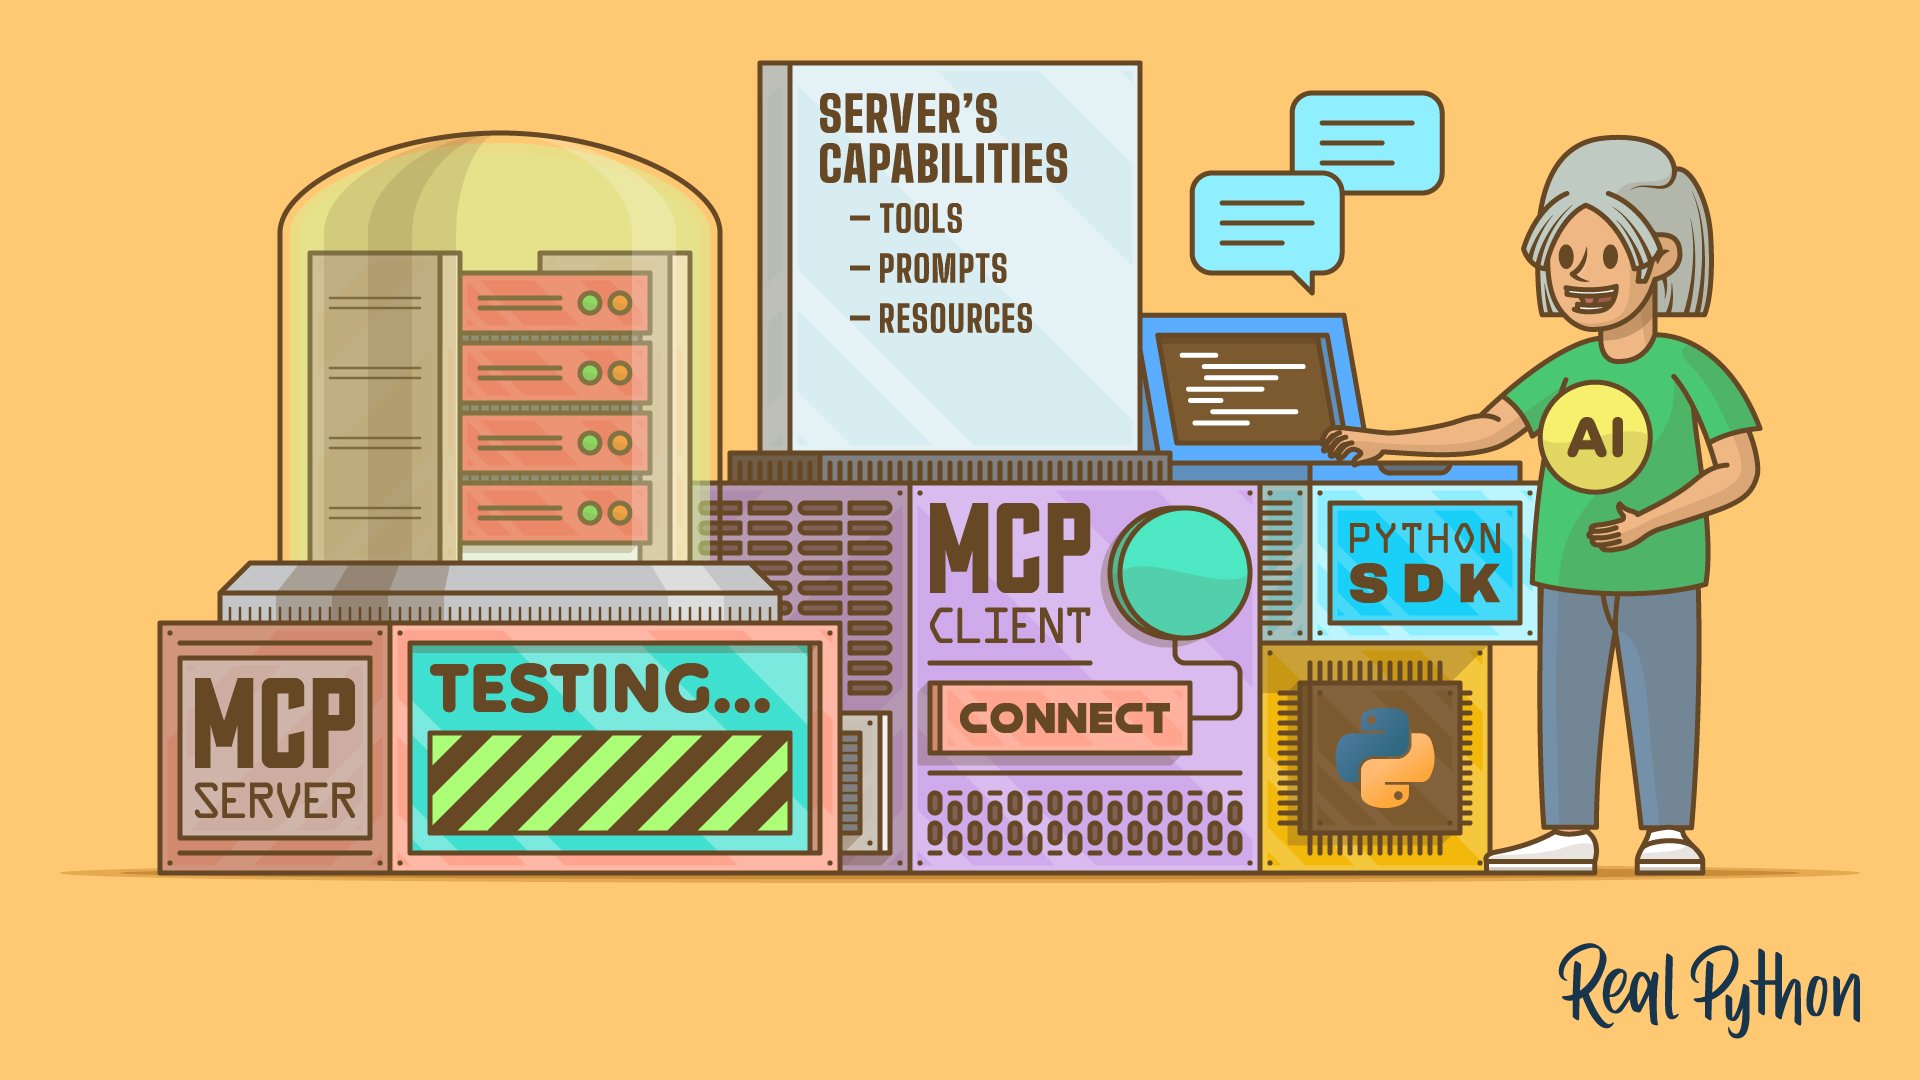
Building an MCP client in Python can be a good option when you’re coding MCP servers and want a quick way to test them. In this step-by-step project, you’ll build a minimal MCP client for the command line. It’ll be able to connect to an MCP server through the standard input/output (stdio) transport, list the server’s capabilities, and use the server’s tools to feed an AI-powered chat.
By the end of this tutorial, you’ll understand that:
- You can build an MCP client app for the command line using the MCP Python SDK and
argparse. - You can list a server’s capabilities by calling
.list_tools(),.list_prompts(), and.list_resources()on aClientSessioninstance. - You can use the OpenAI Python SDK to integrate MCP tool responses into an AI-powered chat session.
Next, you’ll move through setup, client implementation, capability discovery, chat handling, and packaging to test MCP servers from your terminal.
Prerequisites
To get the most out of this coding project, you should have some previous knowledge of how to manage a Python project with uv. You should also know the basics of working with the asyncio and argparse libraries from the standard library.
To satisfy these knowledge requirements, you can take a look at the following resources:
- Managing Python Projects With
uv: An All-in-One Solution - Python’s
asyncio: A Hands-On Walkthrough - Build Command-Line Interfaces With Python’s
argparse
Familiarity with OpenAI’s Python API, openai, will also be helpful because you’ll use this library to power the chat functionality of your MCP client. You’ll also use the Model Context Protocol (MCP) Python SDK.
Don’t worry if you don’t have all of the prerequisite knowledge before starting this tutorial—that’s completely okay! You’ll learn through the process of getting your hands dirty as you build the project. If you get stuck, then take some time to review the resources linked above. Then, get back to the code.
You’ll also need an MCP server to try your client as you build it. Don’t worry if you don’t have one available—you can use the server provided in step 2.
In this tutorial, you won’t get into the details of creating MCP servers. To learn more about this topic, check out the Python MCP Server: Connect LLMs to Your Data tutorial. Finally, you can download the project’s source code and related files by clicking the link below.
Get Your Code: Click here to download the complete MCP client code you’ll use to build a Python MCP client to test servers from your terminal.
Take the Quiz: Test your knowledge with our interactive “Build a Python MCP Client to Test Servers From Your Terminal” quiz. You’ll receive a score upon completion to help you track your learning progress:
Interactive Quiz
Build a Python MCP Client to Test Servers From Your TerminalLearn how to create a Python MCP client, start an AI-powered chat session, and run it from the command line. Check your understanding.
AI Agent From Scratch Live Course: Curious what happens on the agent’s side when it uses tools like these? In Real Python’s Build an AI Agent From Scratch in Python live course, you build the agent loop by hand and learn why agents do what they do. Join the waitlist to hear about the next dates.
Step 1: Set Up the Project and the Environment
To manage your MCP client project, you’ll use uv, a command-line tool for Python project management. If you don’t have this tool on your current system, then it’s worth checking out the Managing Python Projects With uv: An All-in-One Solution tutorial.
Note: If you prefer not to use uv, then you can use a combination of alternative tools such as pyenv, venv, pip, or poetry.
Once you have uv or another tool set up, go ahead and open a terminal window. Then, move to a directory where you typically store your projects. From there, run the following commands to scaffold and initialize a new mcp-client/ project:
$ uv init mcp-client $ cd mcp-client/ $ uv add "mcp>=2.2.0,<3.0" "openai>=3.16.2,<4.0" The first command creates a new Python project in an mcp-client/ directory. The resulting directory will have the following structure:
mcp-client/ ├── .git/ ├── .gitignore ├── .python-version ├── README.md ├── main.py └── pyproject.toml First, you have the .git/ directory and the .gitignore file, which will help you version-control the project.
The .python-version file contains the default Python version for the current project. This file tells uv which Python version to use when creating a dedicated virtual environment for the project. This file will contain the version number of the Python interpreter you’re currently using.
Next, you have an empty README.md file that you can use to provide basic documentation for your project. The main.py file provides a Python script that you can optionally use as the project’s entry point. You won’t use this file in this tutorial, so feel free to remove it.
Read the full article at https://realpython.com/python-mcp-client/ »
[ Improve Your Python With 🐍 Python Tricks 💌 – Get a short & sweet Python Trick delivered to your inbox every couple of days. >> Click here to learn more and see examples ]


