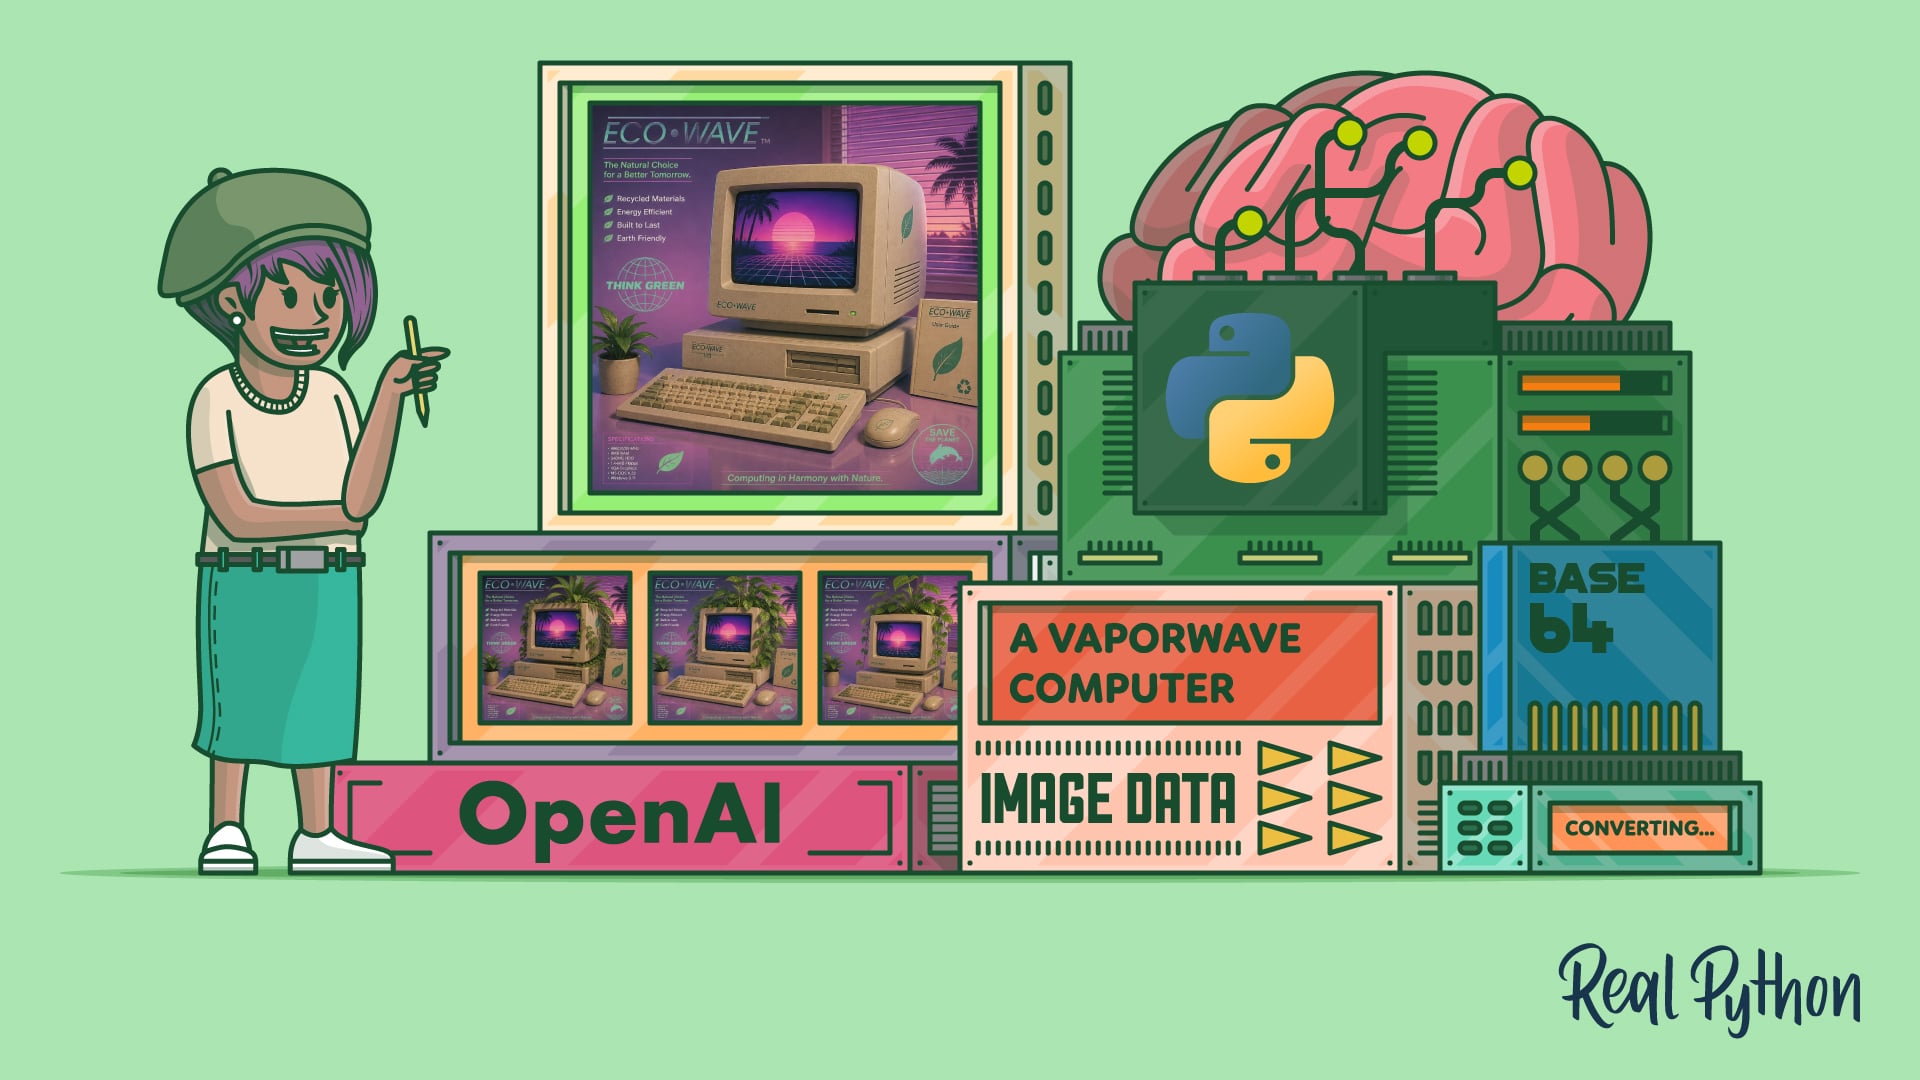
You’ve probably asked ChatGPT for a picture and watched one appear a few seconds later. The same models also sit behind OpenAI’s GPT Image API, so you can generate images from your own Python code instead of a chat window. You send a prompt, and image data comes back for your script to work with.
By the end of this tutorial, you’ll understand that:
- You generate images from a text prompt by calling
client.images.generate()with a GPT Image model likegpt-image-2.5-flare. - Image data always arrives Base64-encoded in
.b64_json, so you save it as a file withb64decode(). - You choose your image’s dimensions and detail with
sizeandquality, which also drive its token cost. - Saving the whole JSON response keeps the metadata and lets you decode several images at once.
- You edit an image you already have by passing it back to
.edit()with a new prompt.
You’ll need some experience with Python, JSON, and file operations to breeze through this tutorial. You can also study up on these topics while you go along, as you’ll find relevant links throughout the text.
Note: If you came here looking for DALL·E, then you’re in the right place, but the model is gone. OpenAI retired DALL·E 2 and DALL·E 3 on May 12, 2026, and removed the image variations endpoint along with them. The GPT Image models that you’ll use in this tutorial are their replacement.
Get Your Code: Click here to download the free sample code that you’ll use to generate stunning images with the OpenAI API.
Take the Quiz: Test your knowledge with our interactive “Generate Images in Python With OpenAI's GPT Image API” quiz. You’ll receive a score upon completion to help you track your learning progress:
Interactive Quiz
Generate Images in Python With OpenAI's GPT Image APITest your understanding of generating images in Python with OpenAI's GPT Image models, from text prompts and Base64 decoding to size, quality, and edits.
Complete the Setup Requirements
If you’ve seen what GPT Image can do and you’re eager to use it in your Python applications, then you’re in the right spot! In this section, you’ll walk through the setup steps to start creating images with OpenAI in your own code.
Install the OpenAI Python Library
Confirm that you’re running Python version 3.10 or higher, create and activate a virtual environment, and install the OpenAI Python library:
The openai package gives you access to the full OpenAI API. In this tutorial, you’ll focus on image generation, which lets you interact with the GPT Image models to create and edit images from text prompts. For text generation using OpenAI’s API, see How to Integrate ChatGPT’s API With Python Projects.
Get Your OpenAI API Key
You need an API key to make successful API calls. Sign up with OpenAI, then open the API keys page in your account dashboard. From there, you can create new secret keys and manage or delete the ones that you already have.
A key on its own isn’t enough, though. Image generation is a paid API service, so your organization also needs a payment method and available credit before any of the requests in this tutorial will go through. Set that up on the billing page. If you skip it, then your first call returns a quota or billing error rather than an image.
Create a new secret key and copy the value shown in the pop-up window.
Note: OpenAI tracks your API usage through unique key values, so keep your API key private. The company bills image generation by tokens rather than per image, and the number of tokens a request uses depends on the model, size, and quality that you choose.
Keep in mind that OpenAI’s API services and pricing policies may change. Be sure to check their website for up-to-date information about pricing and offers.
Always keep this key secret! You’ll only see the key value once, so store it somewhere safe before you close the window. You’ll use it in your project in a moment.
Save Your API Key as an Environment Variable
A quick way to make your API key available to your Python scripts is to store it as an environment variable. Select your operating system to learn how:
With this command, you make the API key accessible under the environment variable OPENAI_API_KEY in your current terminal session. Keep in mind that you’ll lose it if you close your terminal.
Read the full article at https://realpython.com/generate-images-openai/ »
[ Improve Your Python With 🐍 Python Tricks 💌 – Get a short & sweet Python Trick delivered to your inbox every couple of days. >> Click here to learn more and see examples ]


