With Claude Code skills, you can turn a docstring convention you keep re-explaining into instructions that Claude follows on its own. After working through this guide, you can write consistent Python docstrings with a reusable Claude Code skill.
You’ll start with a single Markdown file in one project, add reference files that load only when needed, add a Python helper that finds undocumented code, and then move the skill to your personal folder so it works in all your local projects:
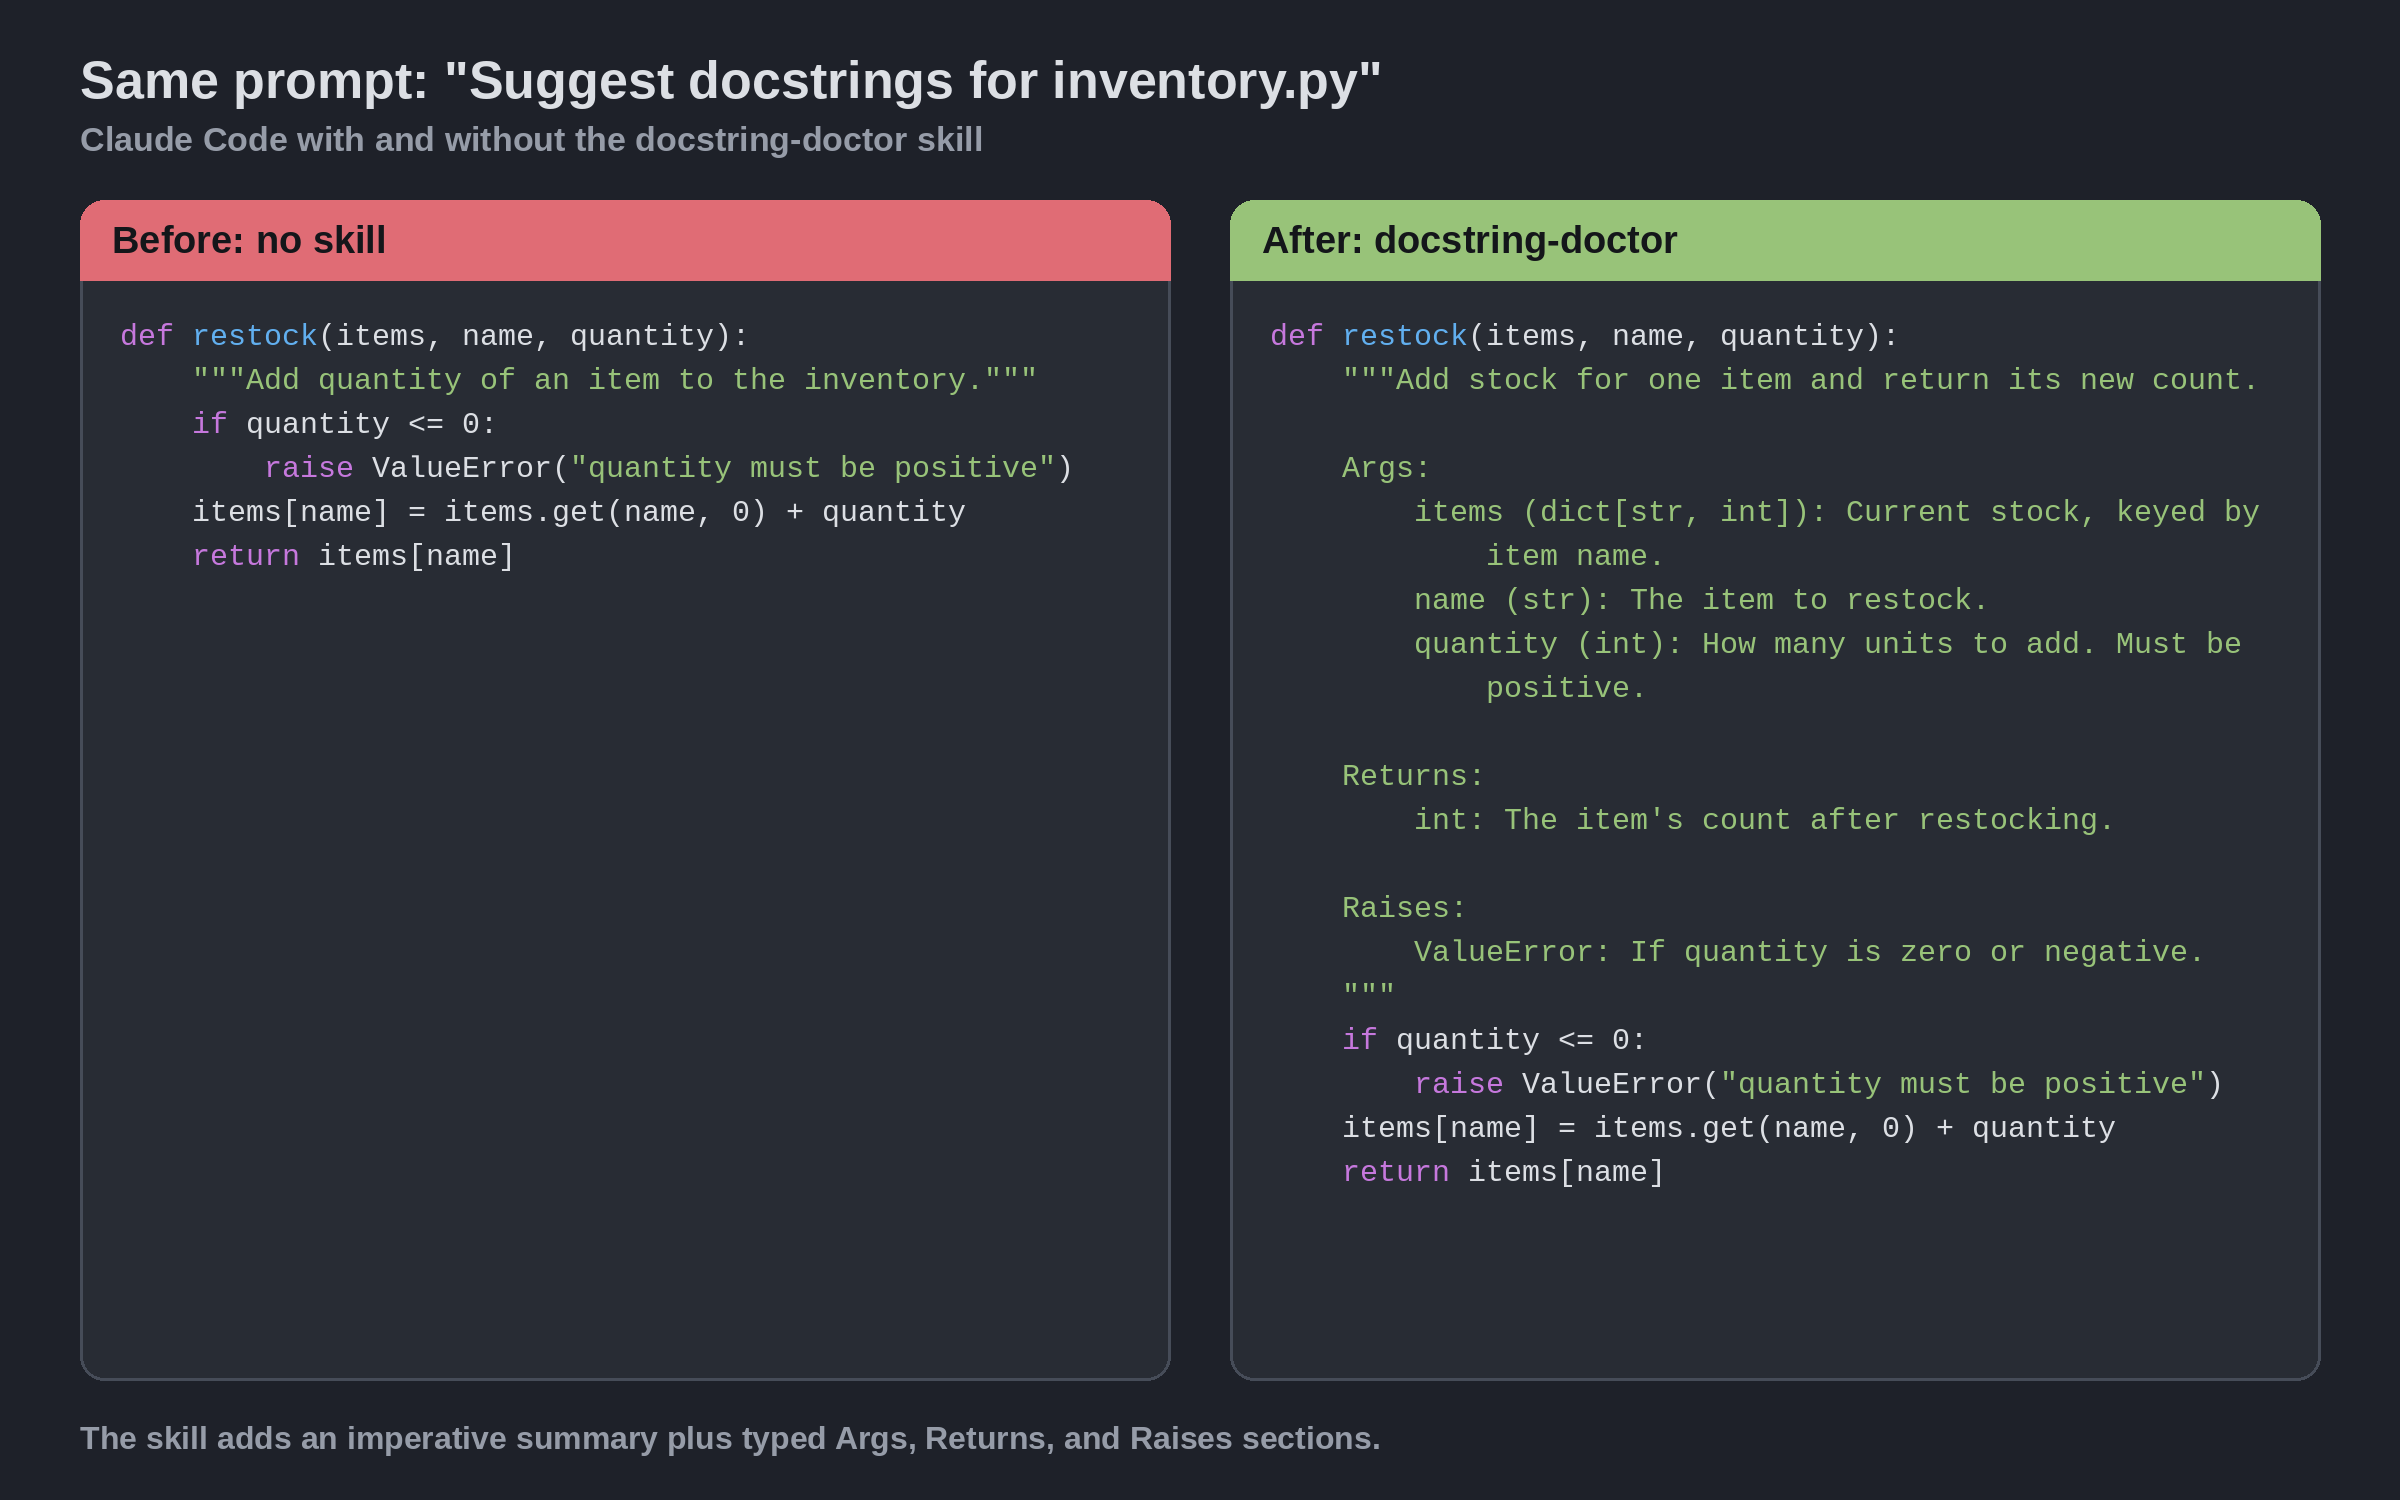
The skill you’ll build is called Docstring Doctor. Without it, Claude writes whatever docstring seems reasonable in the moment. With it, every docstring opens with an imperative summary and documents parameters, return values, and exceptions in your project’s style.
A skill is a folder containing instructions in a SKILL.md file, optionally with scripts and reference files alongside it. Claude can load the instructions on its own when your request fits the skill’s description, and you can also invoke a skill by name. The Agent Skills specification defines the format, and Claude Code adds a few features of its own.
Free Bonus: Claude Code Cheat Sheet
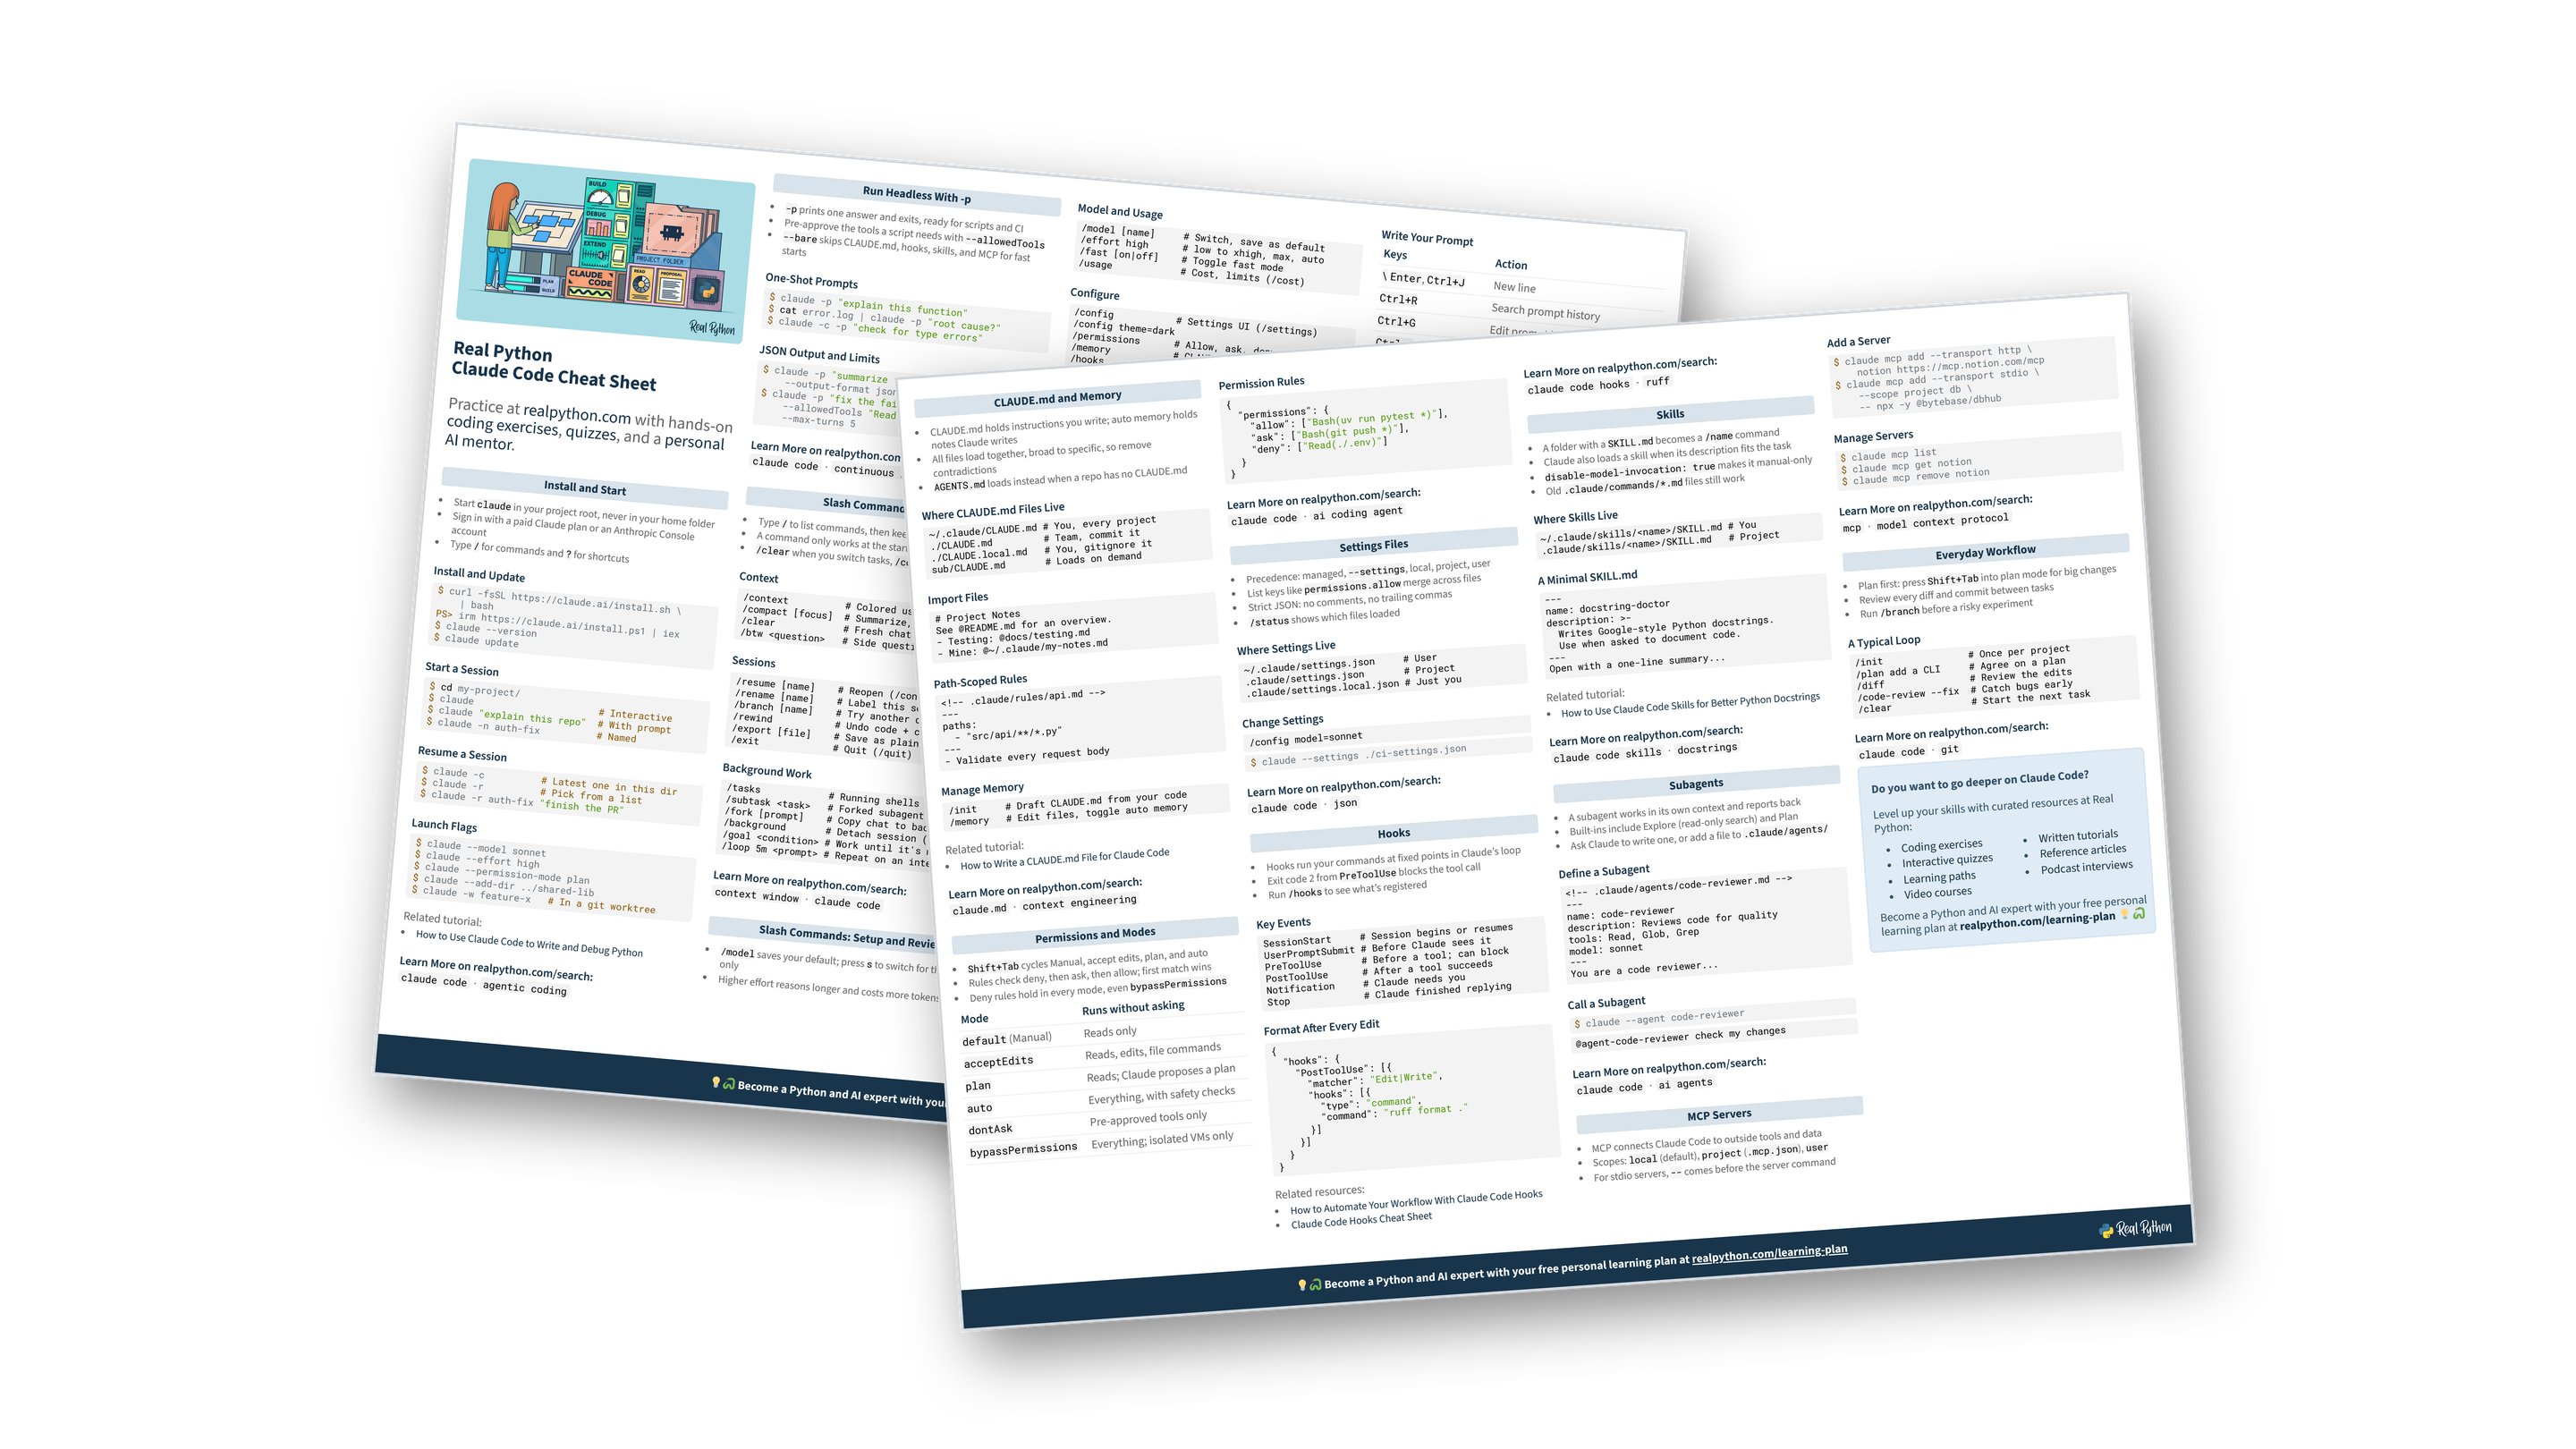
Get a Claude Code Cheat Sheet (PDF) with slash commands, shortcuts, CLI flags, CLAUDE.md, permissions, hooks, skills, subagents, and MCP on two printable pages:
Prerequisites
You’ll need Claude Code installed and signed in, plus Python 3.12 or later for the helper in Step 3. The examples were checked with Claude Code 2.1.273 and Python 3.14.6. The helper uses only the standard library, so there’s nothing to install.
The commands work in Bash on Linux and WSL (Windows Subsystem for Linux), and in zsh or Bash on macOS. If python3 isn’t the command that starts your Python, substitute your own.
You’ll edit Markdown files and run a short script, so familiarity with terminal commands and writing docstrings helps. If you’re new to Claude Code, How to Use Claude Code to Write and Debug Python walks you through your first sessions.
Claude Code Live Course: If you’d rather learn Claude Code hands-on with an instructor, Real Python’s Claude Code live course guides you through building a complete Python project with it, reusable skills included.
Start with a scratch project named skills-demo and change into it:
$ mkdir skills-demo $ cd skills-demo Then save a small module with a few missing docstrings as inventory.py:
inventory.py """Track stock counts for a small warehouse.""" def restock(items, name, quantity): if quantity <= 0: raise ValueError("quantity must be positive") items[name] = items.get(name, 0) + quantity return items[name] def low_stock(items, threshold=5): """Return the names of items at or below the threshold.""" return [name for name, count in items.items() if count <= threshold] class Warehouse: def __init__(self, location): self.location = location self.items = {} def receive(self, name, quantity): return restock(self.items, name, quantity) The module and low_stock() have docstrings, while restock(), the Warehouse class, and its two methods don’t. That gives the skill something to work on.
Step 1: Create Claude Code Skills Inside Your Project
Before you build anything, record what Claude does on its own. Launch Claude Code from the project folder:
$ claude At the prompt, ask for docstrings without letting Claude change the file, so you can repeat the same request later:
Suggest docstrings for inventory.py without editing the file. Answers vary from run to run, but you’ll typically get a short summary line for each function, with no fixed structure and often no mention of the ValueError that restock() raises. Note the shape of the answer, then end the session with /exit, because you’re about to create a skills folder that didn’t exist when the session started. Alternatively, keep the session open and run /reload-skills once the folder exists.
Create the skill’s folder inside the project:
$ mkdir -p .claude/skills/docstring-doctor Read the full article at https://realpython.com/claude-code-skills/ »
[ Improve Your Python With 🐍 Python Tricks 💌 – Get a short & sweet Python Trick delivered to your inbox every couple of days. >> Click here to learn more and see examples ]


